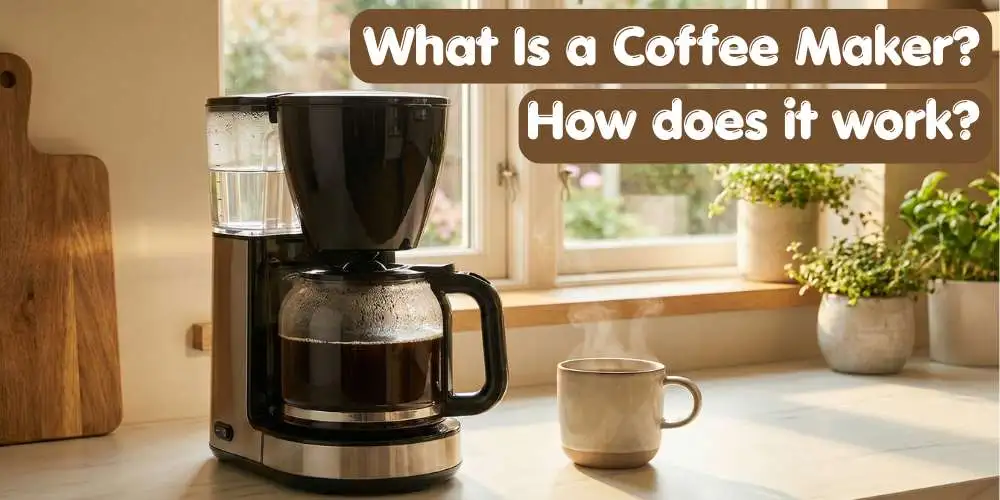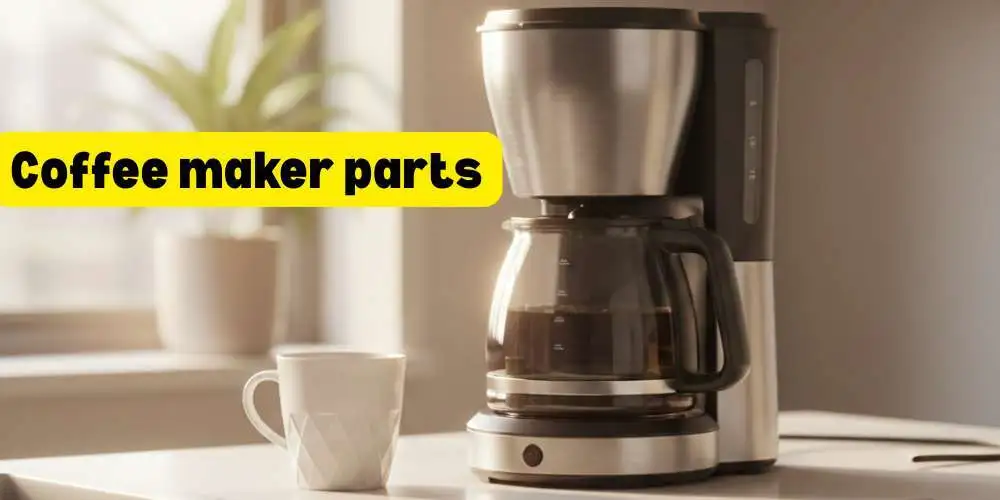

On a busy Monday morning, maybe at home, maybe in a small office kitchen, you press one button and fresh coffee starts brewing. But have you ever wondered how a coffee maker works inside?
A coffee maker is one of those everyday machines we use without thinking about the process. This guide is for beginners, home users, and office coffee lovers who want a simple, clear explanation. You’ll learn the step-by-step brewing process, the main parts inside a coffee maker, and a few practical tips that can actually improve the taste of your coffee.
What Is a Coffee Maker, Really?
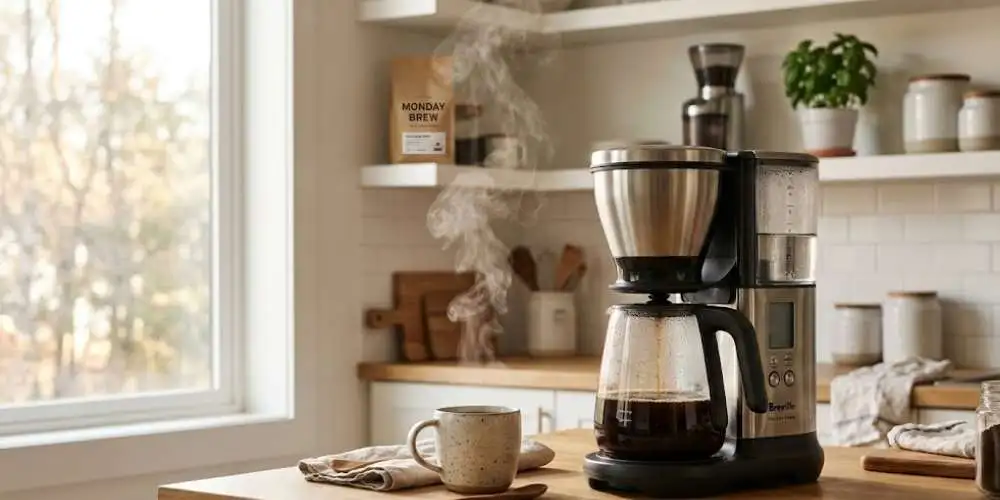
To me, a coffee maker isn’t just another appliance gathering dust on the counter. It’s a reliable friend that greets me every morning. Put simply, a coffee maker is a small machine built to do one job: heat water and pour it over ground beans to make a hot, delicious drink.
I remember my first week living in a tiny studio apartment. My “kitchen” was basically a single shelf. But even there, I found space for a small pot. Whether you are in a busy office or a cramped dorm room, this machine is usually the heartbeat of the room.
Why I Can’t Live Without One (The Purpose)
I used to try making coffee manually every single morning. It was a mess. Once I switched to an automatic machine, my mornings changed for the better. Here is why I think they are essential:
- It Does the Hard Work: I just hit a button and walk away to find my socks.
- It Saves My Sanity: On a rainy Tuesday when I’m running late, it saves me a good ten minutes.
- The Taste Stays the Same: I like knowing my second cup will taste just as good as the first.
My Go-To: The Drip Coffee Maker
If you walk into my kitchen right now, you’ll see a drip coffee maker. In my experience, it is the MVP of the coffee world. It’s simple, it’s cheap, and it never lets me down. You don’t need a degree in science to use one; you just need water, a filter, and your favorite grounds.
Where You’ll See Them (Besides My Counter)
It’s funny how these machines follow us everywhere. I’ve leaned on them in almost every stage of my life:
- Home Kitchens: The classic spot for that first morning cup.
- Office Break Rooms: Where we all gather to complain about emails.
- Small Cafés: For when you need a quick “cup of joe” to go.
- Dorm Rooms: Keeping students awake since… well, forever.
How Does a Coffee Maker Work? (Step-by-Step)
I used to think there was some kind of complex engine inside my machine. But honestly, after years of brewing my own morning fuel, I’ve realized the magic is quite simple. It’s all about moving heat and water. Watching it happen through a glass pot on a slow Sunday morning is actually pretty relaxing.
Here is exactly what happens from the moment you flip the switch.
The Step-by-Step Brewing Process
- Filling the Reservoir: Every great cup starts with cold, fresh water. I’ve learned the hard way that using old water from the night before makes the coffee taste flat. I pour it into the tank, and that’s where the journey begins.
- The Big Heat: Once you turn it on, a metal heating element at the bottom wakes up. It gets the water hot, really hot. We’re talking about 195–205°F. This is the “sweet spot” where the water is hot enough to wake up the coffee oils without burning them.
- The Bubble Lift: This part is always cool to think about. As the water heats up, bubbles form and create pressure. This pressure pushes the hot water up through a narrow tube, like a straw. You can usually hear that familiar “gurgle” sound now.
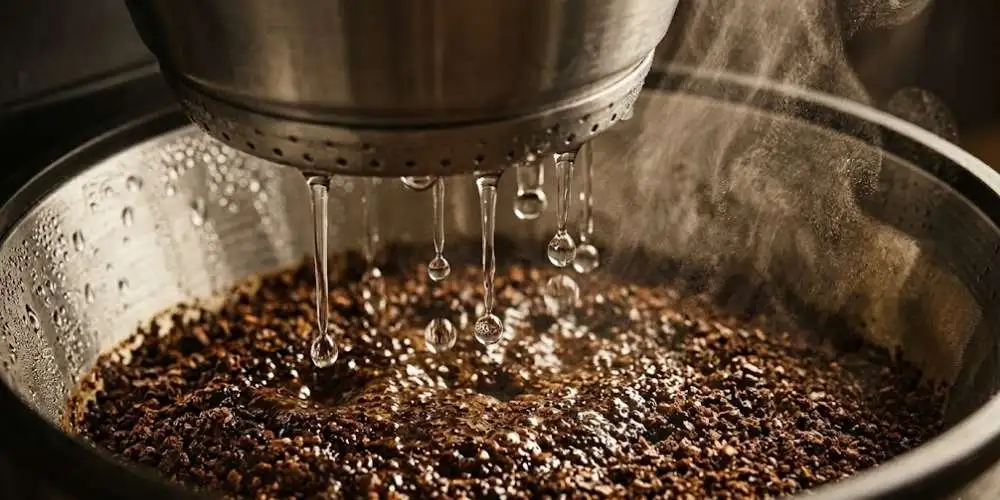
- The Rain Dance: The water reaches the top and drips over your coffee grounds. It’s like a tiny, hot rainstorm. I always try to make sure my grounds are level so the water hits everything evenly.
- The Great Divide: The water picks up the flavor, color, and caffeine. Then, it hits the filter. Whether you use paper or metal, this part is vital. It keeps the grit out so your drink is smooth, not crunchy.
- The Final Drop: Finally, the finished brew drips into the carafe. The smell usually hits me right about now, and it’s the best part of my morning routine.
Quick Look: The Journey of a Bean
| Step | Component | What Happens? |
| Start | Water Reservoir | Cold water waits to be heated. |
| Middle | Heating Tube | Heat and pressure push water upward. |
| Action | Filter Basket | Hot water meets coffee grounds. |
| End | Carafe | Fresh coffee is ready to pour. |
Understanding how the water moves makes it much easier to spot a problem if the machine starts acting up. It’s just a simple loop of heat and flow.
Main Parts of a Coffee Maker
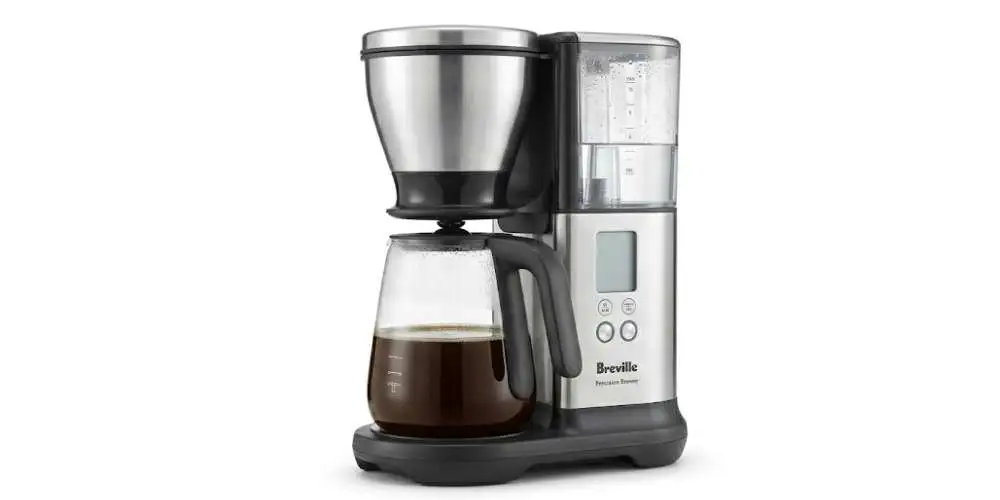
I’ll admit, for a long time, I never really looked “under the hood” of my machine. To me, it was just a plastic box that made magic bean juice. But one Saturday morning, when my machine started making a weird whistling sound, I finally peeked inside. I realized that the main parts of a coffee maker are actually quite simple. Each piece has a specific job to do.
Here is a breakdown of what is actually happening inside that shell.
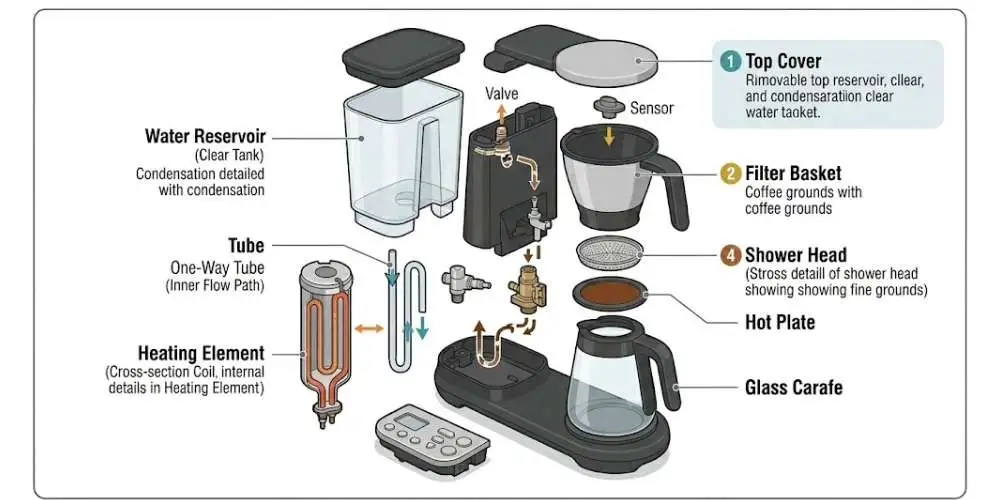
Water Reservoir
This is simply the tank where you pour the fresh water. In my house, filling this is the very first thing I do. I’ve learned that a clear reservoir is a happy one. If you see it getting cloudy, it’s usually a sign that your water is a bit hard.
Heating Element
You can’t see this one easily because it’s tucked away at the bottom. It is a metal coil that acts like a tiny stove. It heats the water fast. When I hear that first “hiss” and “pop” on a cold winter morning, I know the heating element is doing its job.
Drip Area (Shower Head)
If you lift the lid while the machine is running (careful of the steam!), you’ll see this part. It looks like a small shower head. Its job is to spray hot water evenly over the grounds. I once had a machine where the holes got clogged. Half my coffee grounds stayed dry, and the coffee tasted like water. I now check this part once a week!
Filter Basket
This is the “nest” for your coffee. It holds the paper or metal filter and all those fragrant grounds. I love the way the damp grounds smell right after a brew it’s earthy and rich.
Carafe
This is the glass or metal pot that catches the final product. I prefer a glass carafe because I like to see the coffee fill up. It’s a visual cue that my day is about to start. Just be careful; I’ve definitely cracked one by hitting it against the sink while washing up!
Hot Plate
The hot plate sits right under the carafe. It keeps your coffee warm so your second cup is just as hot as the first. One tip from my own kitchen: don’t leave the machine on all day. If the coffee sits on the hot plate too long, it can start to taste “burnt.”
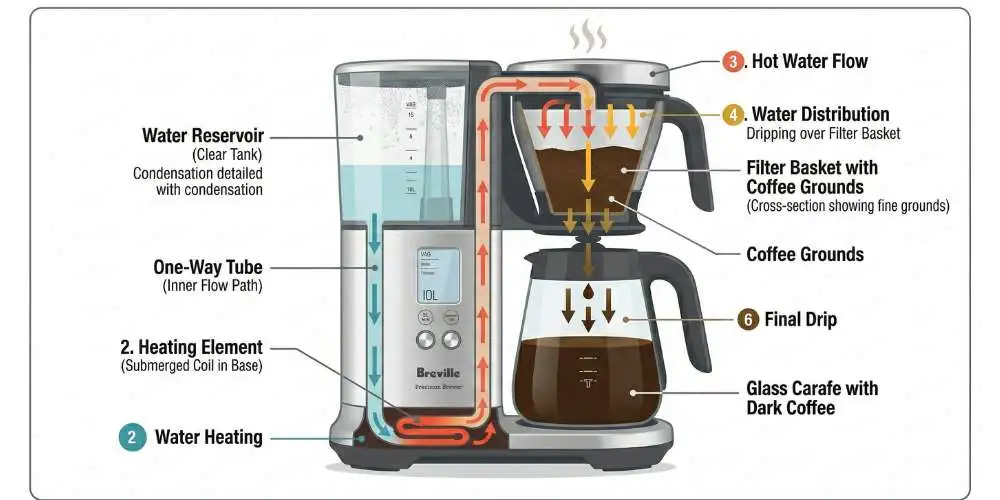
Coffee Maker Brewing Process Diagram
Whenever I try to explain to my friends how my kitchen setup works, I notice their eyes glaze over if I talk for too long. I get it! Sometimes, seeing is just easier than hearing.
One busy Monday, I actually sketched this out on a napkin to show my roommate why the machine was making a weird clicking sound. Once you see the path the water takes, the whole mystery of how the coffee machine works just clicks into place.
Think of it like a road trip for your water. It starts at the tank and ends in your mug. Here is the simple flow I use to keep it all straight in my head:
The Brewing Flow at a Glance
- Step 1: Water Reservoir (The starting line where you pour the cold water).
- Step 2: Heating Element (The “engine” that gets things boiling hot).
- Step 3: One-Way Tube (The secret path that carries hot water up).
- Step 4: Coffee Grounds (Where the water picks up all that rich flavor).
- Step 5: The Filter (The gatekeeper that stops the grit).
- Step 6: The Carafe (The finish line where the liquid gold lands).
My Personal Pro-Tip: I like to keep a mental note of this flow. If I see steam but no coffee, I know there is a “traffic jam” in the tube or the shower head. It makes fixing my morning brew a lot less stressful!
Seeing this simple map helps me realize that brewing isn’t magic, it’s just a very smart cycle of heat and gravity. It’s oddly satisfying to know exactly where my water is at every “gurgle” and “hiss” during the brew.
Different Types of Coffee Makers
When I first started my coffee journey, I thought a “coffee pot” was just a coffee pot. But as I moved from my college dorm to my first office job, I realized that how we get our caffeine fix varies wildly. While the goal is always a great cup, the way these machines handle water and heat changes the whole experience.
Here is what I’ve learned about the most popular styles after years of trial and error.
Drip Coffee Maker
This is the classic machine you’ll find in almost every home. It’s my reliable Tuesday morning partner. It uses gravity to pull hot water through the grounds. It is simple, cheap, and makes a large pot that stays warm all morning. If you just want a solid cup without any fuss, this is the one.
Single-Serve Coffee Maker
You’ve likely seen these in hotel rooms or small offices. Brands like Keurig changed the game for people in a rush. You pop in a small pod, hit a button, and you have a hot drink in under a minute. I love the lack of cleanup, though I do find the pods can be a bit pricey if you drink as much coffee as I do!
Espresso Machine
Now, this is where things get fancy. Unlike my drip machine, an espresso machine uses high pressure to force water through very fine grounds. I remember the first time I tried to use a premium home setup; it felt like I was flying a plane! It creates a thick, bold shot with a nice “crema” on top. It’s perfect if you love lattes or cappuccinos.
Capsule Coffee Machine
Systems like Nespresso take the single-serve idea and make it feel more like a café. These use sealed metal capsules. I’ve noticed they produce a much stronger, richer flavor than standard pods. They are incredibly fast and consistent, which is a lifesaver when I have a 9:00 AM meeting and zero time to spare.
Which One Fits Your Vibe?
| Type | Best For | My Take |
| Drip | Families / Offices | Best value for a crowd. |
| Single-Serve | Fast mornings | Pure convenience. |
| Espresso | Coffee lovers | The best taste, but takes work. |
| Capsule | Small spaces | Gourmet taste with zero mess. |
Common Coffee Maker Problems (And Why Brewing Fails)
I’ve had those mornings. You know the ones you’re half-asleep on a cold Wednesday, you stumble to the kitchen, and your machine just… fails. It’s frustrating! But after years of tinkering with my own pots, I’ve realized that most issues aren’t deal-breakers. Usually, your machine is just trying to tell you it needs a little TLC.
Here are the most common hiccups I’ve faced and how I fixed them.
Coffee Tastes Weak
There is nothing worse than expecting a bold wake-up call and getting brown water instead. When my coffee tastes weak, I usually find I’ve made one of these three mistakes:
- Too Much Water: I got sloppy with the measurements.
- Too Little Coffee: I tried to stretch the last of the bag too far.
- Old Coffee Grounds: I found a bag from last year in the back of the pantry. Trust me, fresh is always best!
Coffee Maker Not Heating
One Friday, I noticed my coffee was barely lukewarm. I felt the side of the machine, and it was stone cold. This usually happens because of mineral buildup on the heating coil. Think of it as a coat of armor that keeps heat from reaching the water. Sometimes, it’s an internal electrical fuse, but 90% of the time, a deep clean is the answer.
Slow Brewing
Does your machine sound like it’s struggling to breathe? If it takes ten minutes to brew a small cup, you likely have “scale” buildup. Hard water leaves tiny rocks inside the narrow tubes. I used to ignore this until my machine started “spitting” steam everywhere. Now, I take it as a sign that the water flow is blocked and needs a clear path.
Troubleshooting My Morning Brew
| The Problem | How it Feels/Smells | Likely Culprit |
| Weak Flavor | Like tea, but sadder | Bad coffee-to-water ratio |
| Cold Coffee | No steam, no “hiss” | Clogged heating element |
| Drip… Drip… | Takes forever to finish | Mineral scale in the tubes |
How to Maintain a Coffee Maker
I’ll be the first to admit it: I used to be lazy about cleaning my machine. I figured as long as hot liquid came out, I was fine. But then came a Tuesday morning when my brew tasted like a dusty attic. That was my wake-up call.
Proper maintenance isn’t just a chore. It is the secret to making sure your morning cup actually tastes like coffee and not a science project.
Regular Cleaning
I’ve made it a habit to treat my machine like my dinner plates. You wouldn’t eat off a dirty fork, right?
- Rinse the Carafe: After every single use, I give the pot a quick rinse. It prevents those oily brown stains from building up.
- Weekly Wash: Every Sunday, I take out the removable parts like the filter basket and wash them with warm, soapy water. It takes two minutes but makes a world of difference.
Descaling (The Most Important Step)
If you live in a place with “hard water” like I do, minerals are your enemy. They build up inside the tubes and slow everything down. This process is called descaling, and it is vital for a healthy machine.
I usually do this every two months. You have two main choices:
- The Vinegar Trick: I mix equal parts white vinegar and water. Run it through a brew cycle, let it sit for 30 minutes, then run two cycles of plain water to get rid of the smell.
- Commercial Liquid: If the smell of vinegar is too much for you, a store-bought descaler works even faster.
Filter Replacement
Whether you use paper or metal, keep an eye on your filter. If I’m using a metal one, I scrub it with a small brush to make sure the tiny holes aren’t clogged with old oils. If you use paper, just make sure you aren’t leaving damp, used grounds in the machine all day, that’s a shortcut to a moldy mess!
My Maintenance Schedule
| Task | Frequency | Why? |
| Rinse Pot | Daily | Stops bitter oil buildup. |
| Soap Wash | Weekly | Keeps the basket fresh. |
| Descaling | Every 2 Months | Clears out “pipe-clogging” minerals. |
FAQs About How a Coffee Maker Works
Whenever I have friends over for brunch on a lazy Sunday, someone always asks me about my machine. Usually, it is because they are tired of their own coffee tasting like lukewarm tea. I’ve realized that while we use these pots every day, many of us still have the same basic questions about how a coffee brewer work behind the scenes.
Here are the things people ask me the most while I’m waiting for the pot to finish.
How long does a coffee maker take to brew?
In my experience, a standard drip machine takes about 5 to 10 minutes. It depends on how many cups you are making. If I am just brewing a small pot for myself on a quiet Tuesday, it is usually ready in under five minutes. If I fill it to the brim for guests, it takes a bit longer.
Does a coffee maker boil water?
Actually, no! I used to think it did, but that would ruin the flavor. Most machines heat the water to just below boiling. This is the “sweet spot” that extracts the flavor without making the beans taste burnt or bitter. It is hot enough to give you a nice steam, but it is not a rolling boil.
Why is my coffee maker not brewing properly?
I get this question a lot when a friend’s machine starts acting up. Most of the time, the culprit is one of these three things:
- Mineral Clogs: Little rocks from your water are stuck in the tubes.
- Dirty Sensors: The machine thinks it is empty when it isn’t.
- Bad Ratios: You might be using too much coffee for the water to flow through.
Quick Fact Check
| Question | Short Answer | My Personal Tip |
| Is it boiling? | No, just very hot. | If you see heavy steam, it might be too hot! |
| Is it slow? | Likely needs a clean. | Use vinegar once a month to keep it fast. |
| Is it weak? | Check your grind size. | Medium grinds work best for drip pots. |
Understanding how to work a coffee pot correctly saves you from a lot of bad mornings. It is all about knowing these little details!
Conclusion
I hope this peek inside your machine helps you enjoy your next cup just a bit more. To me, knowing how does a coffee maker work changed everything. It turned a mindless morning chore into a small, daily craft. Now, when I hear that first pop of steam on a quiet Monday, I don’t just see a plastic box. I see a clever dance of heat and physics working just for me.
Once you grasp the basics of water, heat, and flow, you have the power to make your coffee taste exactly how you want it. No more guessing why a batch tastes thin or why the pot is taking forever to drip. You can spot the scale, fix your ratios, and keep your trusty brewer running for years.
Honestly, life is too short for bad coffee. Taking five minutes to understand your machine means better, bolder mugs on every random weekday. It is a small win, but in my house, it is the best win of the day.